Archive for the ‘Recycled’ Category
-
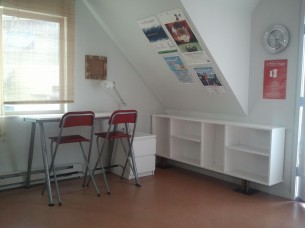
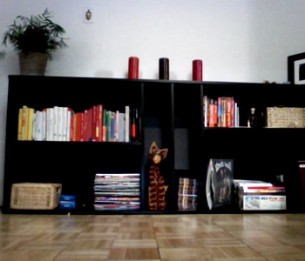
Makeover: Ikea hacker for my studio
I have this great space on top of our garage that we call studio, but for a long time it was just and empty room, then a very busy room, but with no order at all. Now that I started my MFA I need a space to keep my works and with Daniele we decided […]
-
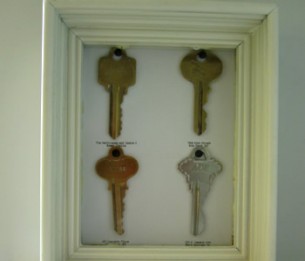
Recycle: Keyframe update
Since I moved to my 5th house I had to update the Keys Frame project. I started from here… And here the updated version
-
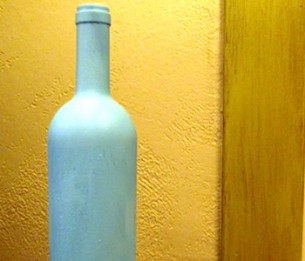
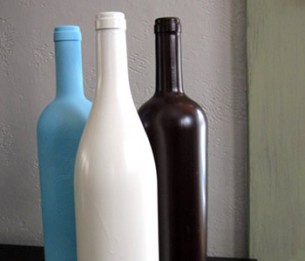
Recycle: Bottle!
I’m Italian, I like wine, red wine in the winter, white wine in the summer, rose and prosecco if the occasion requires it, and since the design of a lot of bottle is becoming more and more appealing , I really don’t like throw them away. So I recycle them as peace of “art” (or […]
-
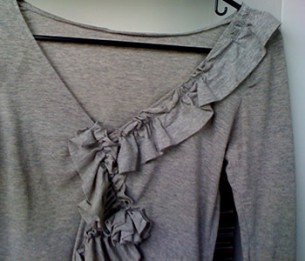
Recycle&Sew: #2 and #3
As I already described in this post, I had a big amount of t-shirts to use for some project. This time I started from a grey no shape long sleeves shirt and a black t-shirt I reshaped neck, body and sleeves to fit myself Ruffled the leftovers (Gather-Fabric-into-Ruffles), and here is the first one and […]
-
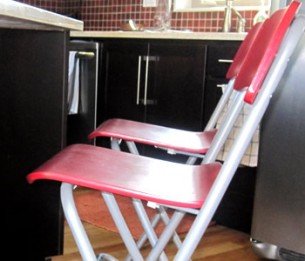
Recycle series: 4 IKEA Stools
I had 4 old Ikea Stools, and I wanted to find the way to fit them in my new kitchen…so paint them was the solution! I started from here I disassembled my 4 chairs and painted red Here the what I created… …my FReAKY Stools
-
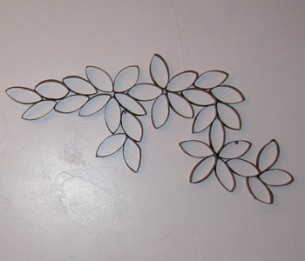
Recycle: Toilet Paper Rolls wall art
I just had some toilet paper rolls at home, and I was thinking what to do with them. I made some research online and I found this project and here we go, my recycle design! Here what you need for this project: toilet paper rolls, scissor, pencil , glue and a measure Cut into approximately 5 […]
-
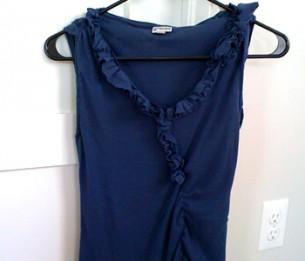
Recycle&sew: t-shirt mania
Daniele, my husband, was throwing away some old, but in pretty good shape, t-shirts. I really love some of those, the colors were still ok and the cotton…well it was 100% cotton…So I took an inspiration from the ruffled shirt at Anthropologie and I came out with some original design. Here is the first transformation: […]
-
Recycle: bottles part 2
Few months ago I realized this project recycling bottle of wine. I said I wanted to do a series of those, and I did it! I started from here…. …and here are the new entries. FreakyRecycleBottles!
-
Recycle: haker an Ikea Billy
Here is my last Arts&Craft project…I’m enjoying the result! From this to THIS…. For the freakybilly makeover there is no need to cut anything from the original IKEABilly just needles, a screwdriver, a measuring tape, a hammer and an idea!

